
Upload and send mailings to contacts within HubSpot + automate using Workflows.
Learn how to use the HubSpot integration with DocuPost to send letters, checks, and postcards directly from within the HubSpot CRM or via HubSpot Workflows.
Click here to install the DocuPost app for HubSpot. Then, read on to learn how to use the integration.
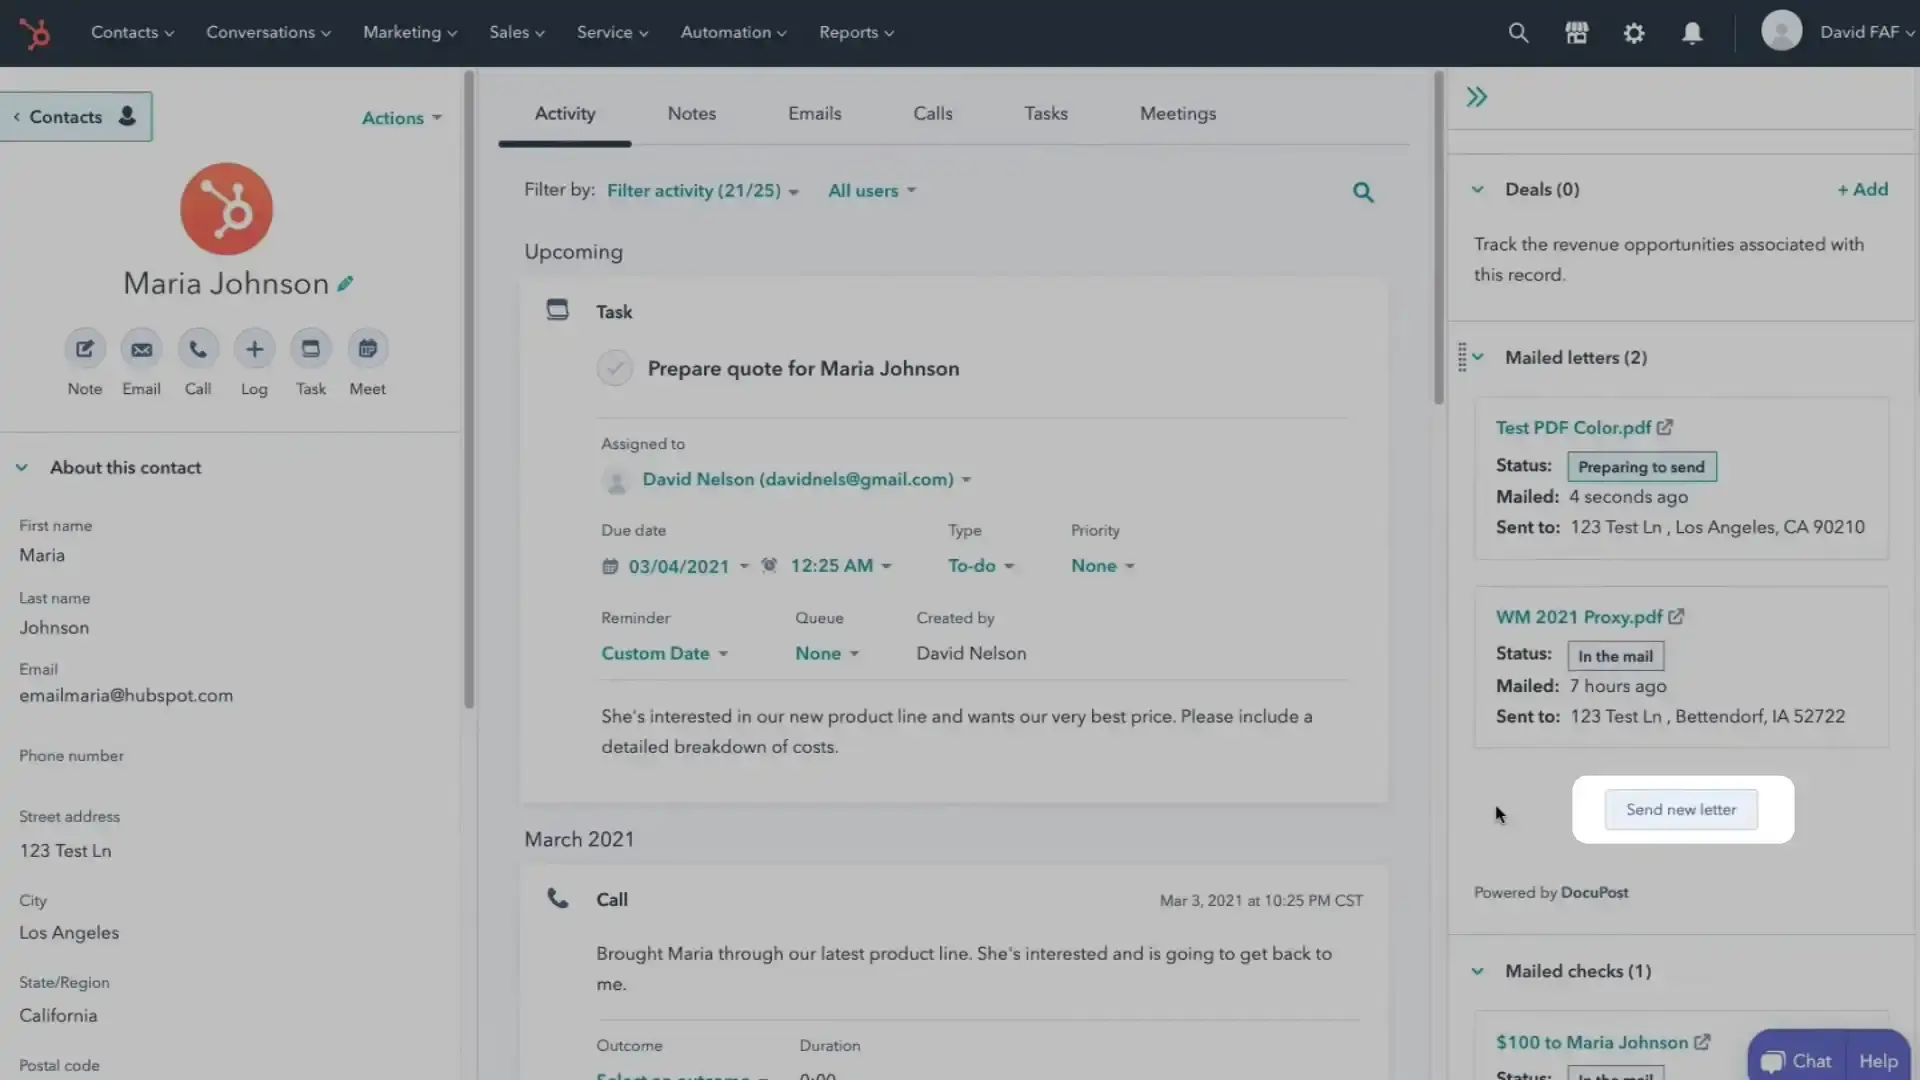
To send a letter using the DocuPost integration in HubSpot, start by selecting a contact or company record from your HubSpot CRM.
On the right sidebar, find the mailed letters section. Click on send new letter.
DocuPost will automatically fill in the recipient’s name, address, city, state, and zip code from the contact information in your CRM. Verify that these details are accurate.
Next, upload your document. You can either drag and drop the file or select it from your computer.
Once your document is uploaded, you can choose mailing options. Options include color printing, double-sided printing, and certified mail. Select the options that best meet your needs.
After selecting your mailing options, review the information on the screen to ensure everything is correct. When ready, click send letter to mail your document.
You can track the progress of your sent letters by navigating to the contact record in HubSpot and checking the status in the mailed letters section.

Mailing Checks in the HubSpot CRM
To send a check through HubSpot using DocuPost, start by navigating to the contact or company record in HubSpot. On the right sidebar, locate the Mailed checks section.
Click on the Send new check button. DocuPost will prompt you to authenticate your bank account if this is your first time sending a check. Follow the provided instructions to complete the authentication process.
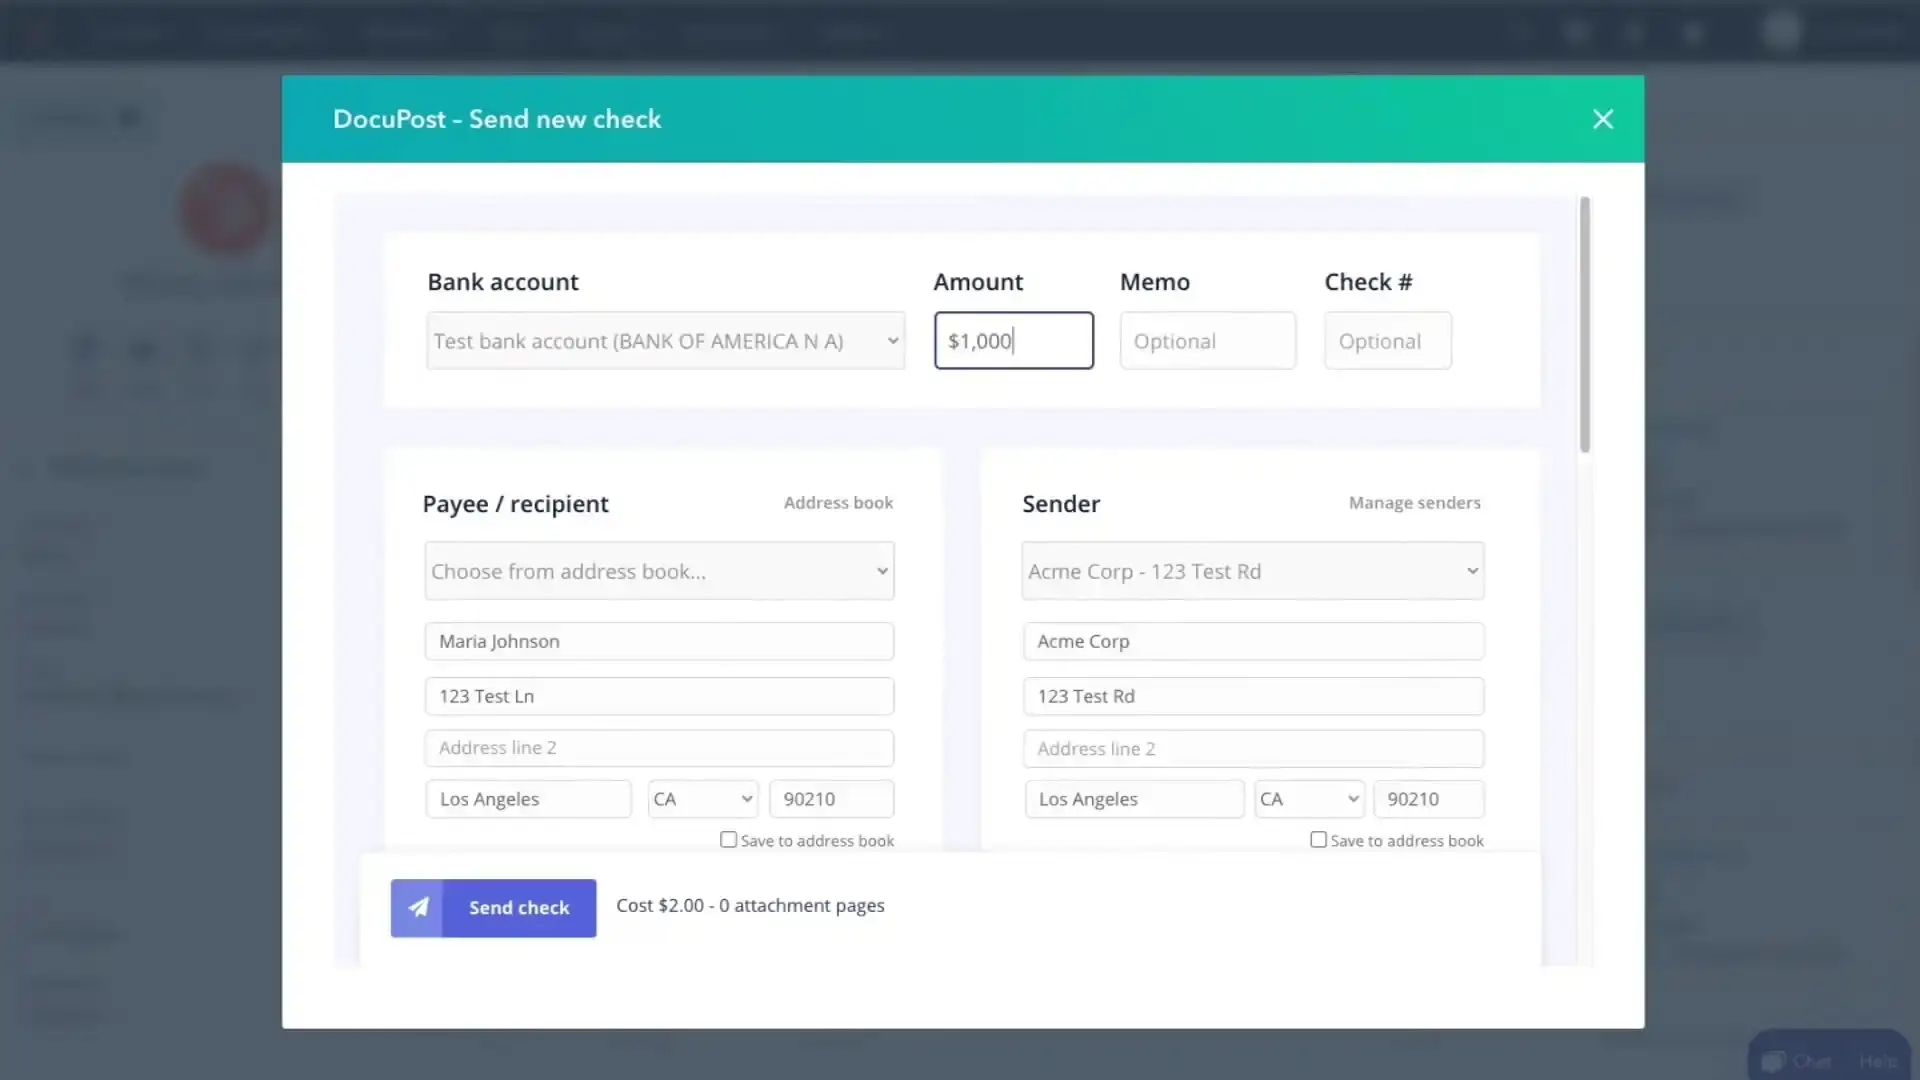
After your bank account is authenticated, enter the required check details, including the dollar amount in USD, a memo, and a check number. Make sure all fields are correctly filled.
If you have any documents you wish to send along with the check, you can attach them at this stage. Simply upload the desired files through the interface.
DocuPost allows you to customize your check. You can upload an image for your company logo to be displayed on the check. A preview of the check will be shown, so you can review all the details and ensure everything is accurate.
Once you have verified all information, click the Send check button. The check will be processed and mailed by DocuPost.
Mailing Postcards in the HubSpot CRM
To send a postcard using the DocuPost integration in HubSpot, follow these steps:
Select a contact or company record in HubSpot. On the right sidebar, you’ll find the Mailed postcards section.
Click on Send new postcard. This will open a form for sending a new postcard.

Enter the sender’s address and the recipient’s address. You can choose to upload your own postcard image or select one from the available library.
If you want, you can upload a custom image for the back of the postcard as well. Alternatively, you may write a message and choose your desired font.
Once you have completed all necessary details, click on Send postcard at the bottom of the form. Your postcard will be sent, and you’ll see its status update in the Mailed postcards section.
HubSpot Workflows
Once you’ve installed DocuPost on HubSpot, you can access the “Send letter via US Mail” and “Send postcard via US Mail” actions in HubSpot workflows. This allows you to automate sending mail via HubSpot’s powerful workflows tool.
